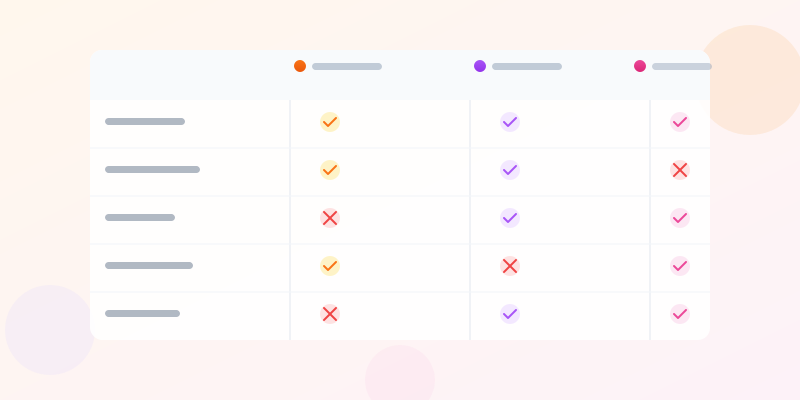
What Is a Feature Comparison Chart?
A feature comparison chart is a structured visual that places two or more options side by side, showing which features each option includes or excludes. Readers can scan across rows to compare a specific feature, or scan down columns to get the full picture of a single option. The most common format is a table with product names across the top, feature names down the left, and checkmarks or ratings filling the cells.
You see comparison charts everywhere: software pricing pages comparing Free vs Pro vs Enterprise tiers, product review sites comparing smartphones across camera quality and battery life, and internal business documents comparing vendor bids across a set of requirements.
The goal is to reduce cognitive load. Instead of asking a reader to hold five features from three separate product pages in their head simultaneously, a comparison chart puts everything on one surface. The decision becomes visual instead of mental.
When to Use a Comparison Chart
Use a feature comparison chart when the decision-maker needs to evaluate several options against a fixed set of criteria, and when the presence or absence of features is binary or easily rated. Pricing tables, product comparisons, software evaluation matrices, and service tier breakdowns all benefit from this format.
The format works best with two to five options and five to fifteen features. More than five options creates a table that is too wide to scan easily. More than fifteen features creates a table too long to hold in working memory. If you have more complexity than this, break the comparison into multiple focused charts — one for "core features," one for "integrations," one for "pricing."
Avoid comparison charts when the differences between options are nuanced and contextual — when the answer to "does it support X?" is "it depends on your configuration." For those situations, a narrative comparison, a pros-and-cons format, or a how to make comparison infographic covers richer formats.
Planning Your Feature List
The quality of a comparison chart depends entirely on which features you include. Start with a long list of everything relevant, then cut ruthlessly. Every feature row should matter to the decision. If a feature is present in all options, it adds no comparative value — remove it. If a feature is present in only one niche product that most readers would not consider, remove it.
Order features by importance to the reader, not alphabetically. The most critical features go first. If you are comparing project management tools for a marketing team, "visual calendar view" matters more than "API rate limits." Put what your audience cares about most at the top.
Group related features under subheadings if you have more than eight rows: "Core features," "Collaboration," "Integrations," "Export options." This breaks the visual monotony and helps readers find the category they care about. For more on comparison infographic layout principles, the product feature comparison template is a good starting point.
Choosing the Right Comparison Format
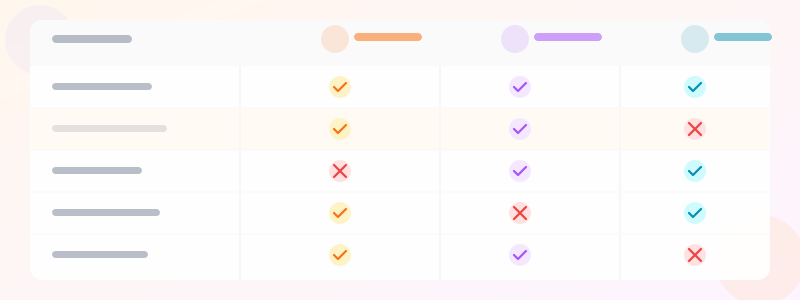
The binary checkmark table (check vs X) is the most common format because it is the fastest to scan. Use it when the feature is either present or absent with no meaningful middle ground.
For features that vary in quality rather than presence, a rating system works better: stars, dots, or a short horizontal progress bar for each cell. "Customer support" might be rated 3/5 for one option and 5/5 for another — a binary check would miss that difference entirely.
A score card format — one large number per product representing an aggregate score — is useful at the bottom of a detailed comparison as a summary. "Overall score: 8.4/10." It gives readers a quick verdict after working through the details. The comparison maker supports all three formats: binary, rating, and score card.

Design Tips for Comparison Charts
Give each product its own accent color applied consistently in the header. When a reader scans down a column, the color anchors their eye to the right product. Use a light tint of that color for checkmark badges in that column — it reinforces the association.
Highlight the recommended or best-value option with a subtle background color on its column, or a "Best Choice" badge in the header. On pricing pages this is standard practice — draw the reader's eye to the option you want them to pick.
Alternate row backgrounds with very subtle tints to improve scannability. White and light gray rows prevent the eye from losing track of which row it is following. Keep font sizes consistent across all cells — mismatched sizes create visual noise. Use a monospace or tabular figure font for any numbers so that columns align perfectly.
Keep the table compact. Padding should be enough for readability but not so generous that rows feel spread out. A comparison chart that requires scrolling loses effectiveness — aim to fit the whole table in one viewport or one exported image.
Ready to build?
Open the free editor and start creating — no signup needed.
How to Create a Feature Comparison Chart Step by Step
Step 1: List your options. These are the products, plans, or vendors you want to compare. Keep it to 2-4 options — more than that overwhelms the reader.
Step 2: List the features that actually matter. Start wide, then cut ruthlessly. Remove features that all options share (they add no comparison value). Remove niche features that most readers will not care about. Aim for 5-15 features max.
Step 3: Order features by importance. Put the most critical ones at the top. Readers scan from top to bottom — your top-of-list features are the ones they will weigh most heavily.
Step 4: Pick your cell format. Binary (check/X) is fastest to scan when features are present/absent. Ratings (stars or scores) work better when quality varies. Text cells work for specifics like "24/7" vs "Business hours only."
Step 5: Set up your chart. Open comparison maker, add each option as a column, each feature as a row, and fill in the cells. The tool auto-styles the table.
Step 6: Highlight the recommendation. If one option is the "best value" or "editor's choice," give its column a subtle background tint or add a badge to the header.
Step 7: Add a legend if you are using ratings or mixed formats. Readers need to know what 3/5 stars means. Keep the legend compact — one line if possible.
Step 8: Export. PNG at 2x scale for web embedding, PDF from the editor for print materials. For a full comparison infographic with headings and a verdict section, build it in the editor.
Feature Comparison Chart Templates
Starting from a template is faster than building from scratch. Our product feature comparison gives you a pre-built 4-column feature comparison layout with headers, checkmarks, and a recommended-option highlight — just replace the placeholder data with yours.
The comparison template offers a broader comparison infographic with a header, comparison table, and verdict section — useful for blog posts or product reviews where you want narrative around the table, not just the table alone.
For SaaS pricing pages specifically, the saas pricing template includes a three-tier comparison (Free / Pro / Enterprise) with per-tier feature lists, pricing, and CTA badges. Customize the tier names and features and you have a pricing page visual in minutes.
Building Your Comparison Chart in GraphMake
Open comparison maker to access the dedicated comparison chart builder. Add your products or options as columns, enter your feature list as rows, and set each cell to a checkmark, X, star rating, or custom text. The tool generates a clean, styled table you can export as PNG immediately.
For a full comparison infographic — with a header section explaining what is being compared, a comparison table in the middle, and a verdict or recommendation section at the bottom — use the full editor. The Comparison Bar widget and Stat Card widgets complement a feature table well. The product feature comparison template gives you a pre-built layout you can populate with your own data.
Export the finished comparison chart as PNG for embedding in blog posts, presentations, or product pages. PNG at 2x scale is sharp enough for Retina displays. For print materials, export as PDF from the full editor.
Common Mistakes to Avoid
Cherry-picking features to make one option look better. Readers will notice if every feature present in your preferred option is listed while features where competitors excel are absent. An honest comparison builds trust; a biased one destroys it.
Including too many options. Four is generally the maximum before a table becomes overwhelming to scan. If you are comparing more than four options, present a shortlist of the top three with a note explaining your selection criteria, then link to the full comparison.
Using vague feature names that require explanation. "Advanced analytics" means something different in every product. Be specific: "Custom report builder," "Real-time event tracking," "Cohort analysis." Specific feature names help readers quickly determine if a feature applies to their situation.